Classes and subjects
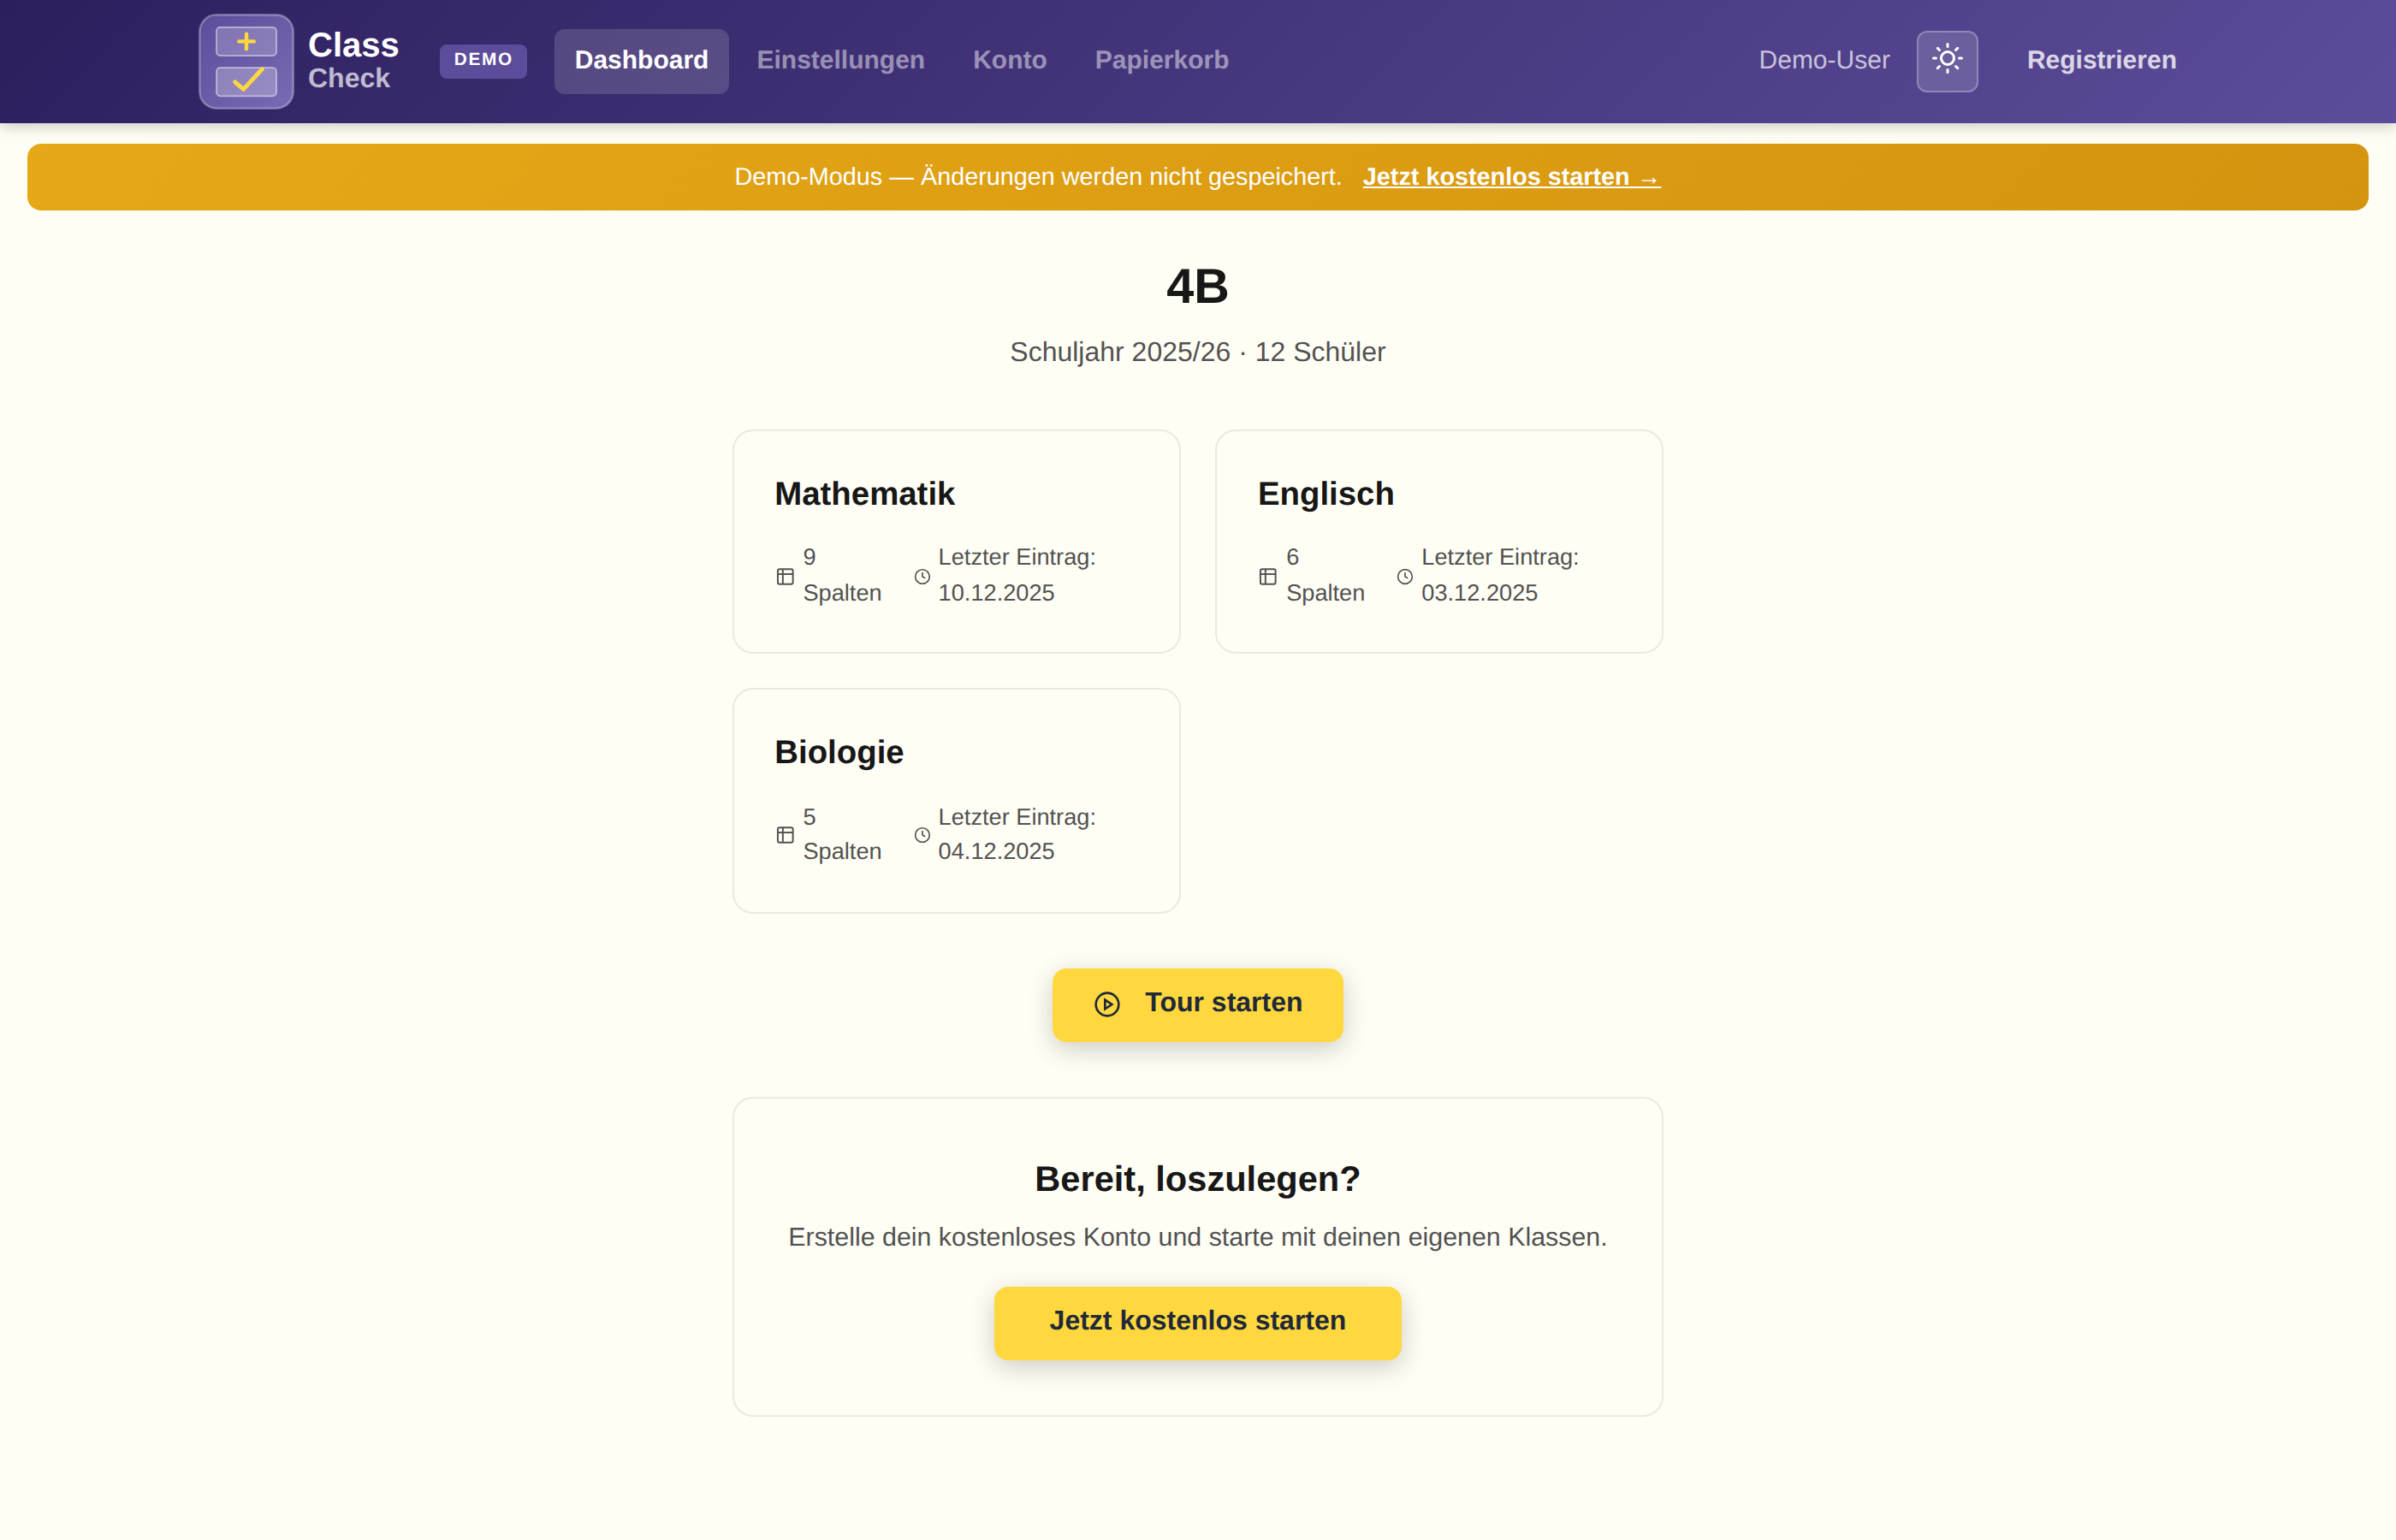
The first time you open ClassCheck, the fair question is: why distinguish a class from a subject? Answer: a class is the student list, a subject is the grade table for it. You set the class up once and can put as many subjects on top of it as you like.
The idea: class vs. subject
Class
The student list of a school class — for example “3B”, “Year 10a”, or “Year 12 English”. You create it once and use it for every subject in which you teach this class.
- Contains student names
- Optional: photo, date of birth, notes
- Can be shared with the homeroom team
Subject
The grade table for one subject you teach — for example “Mathematics 3B”. Each subject belongs to a class.
- Its own columns (class tests, tests, classwork)
- Its own weighting
- Can be shared with a team-teaching partner
- Several subjects per class are possible (math, English, …)
If the homeroom teacher and the subject teacher were the same person, everything could live in one table. Usually they are not, and there are two different jobs:
- The homeroom teacher keeps the student list (joining, leaving, moving, a name change) — every subject teacher benefits automatically.
- Each subject teacher keeps their grades in their subject, without seeing the others.
Create a class
- On the dashboard, click “+ New class”.
- Enter the class name (for example 3B or Year 10a).
- Optional: school year, notes, color.
- Student names are encrypted in the browser the first time you open a subject and enter your login password. See encryption.
- Click “Create class”.
- You land on the student list — now you can type names or import a CSV.
Manage students
Add one by one
At the bottom of the student list there is an empty row. Enter the first name and last name, then press Enter or the “+” button. Saved at once.
Import from CSV
For a whole class: use CSV import.
Edit
Click the name directly — inline editing. Enter saves.
Change the order
Drag the name icon on the left. Or use the sort buttons in the column header (alphabetical).
Delete / a student leaves
The three-dot menu to the right of the student → “Delete”. It goes to the recycle bin first and can be restored from there.
Create a subject
- On the class page or the dashboard, click “+ New subject”.
- Subject name (for example Mathematics) and which class it belongs to.
- Optional: school year, color, default grading system.
- “Create subject”.
You land in an empty grade table. Now you can add columns and enter grades.
Semester and school year
Each column can be assigned to a semester (1st or 2nd). In the column header you see the semester as a small mark. For the grade average you can then filter: 1st semester only, 2nd semester only, or overall.
Changing school year: There is no automatic reset — that is deliberate. You can always look back at the previous year. At the end of the school year, the recommendation is:
- Archive the class (it leaves the active list and stays available).
- Create a new class for the new school year.
- Copy the student list with a CSV export from the old class and paste it into the new one.
Archive classes
Classes from previous years do not have to be deleted — archive them:
- Under Classes, find the class → “Archive” (or, in the class view, via the three-dot menu).
- Confirm the school year — the class is filed under the matching archive year.
- The class disappears from the dashboard, but stays available under “Archived classes” (grouped by school year).
- You can make it active again at any time — every grade and student is kept.
Read-only: Archived classes are only for viewing and exporting. Grades, students, and columns cannot be edited until you restore the class.
Archive subjects
You do not always have to archive the whole class — sometimes one subject is enough (for example an elective that has finished):
- Open the subject → settings (gear) → “Archive subject”.
- The subject appears under “Archived subjects” on the class page; the class itself stays active.
- Archived subjects are read-only too: viewing and PDF export yes, editing no.
- With “Restore” you return to normal editing.
If a whole class is archived, every subject that belongs to it is read-only automatically — even without its own subject archive.
Recycle bin and restore
Archive vs. recycle bin: Archiving takes classes and subjects out of day-to-day work, but they stay readable. The recycle bin is for deletion. Items stay there until you delete them for good. There is no automatic deadline.
When you delete a class, a subject, a column, or a student, the item goes to the recycle bin first — it is not deleted for good at once.
Open the recycle bin
Via the menu Account → Recycle bin, or directly: classcheck.net/recycle-bin
Restore
- In the recycle bin, find the item (filter by type: classes / subjects / students / columns).
- Click “Restore”.
- The item is back at once — with everything linked to it (grades, notes, and so on).
Delete for good
- In the recycle bin, click “Delete permanently” (with a confirmation).
- Or empty the whole recycle bin. There is no automatic deletion.
Read next
- Columns and templates — set up assessments
- Sharing and collaboration — share classes with colleagues
- Import and export — import students